
Learn how to make custom wood inlays while creating this unique growth chart.
Introduction
As with many projects on my ‘want to do’ list, this growth chart has been on the books for a long time. I planned this one six years ago when my first child was born. Now that I have three kids who need heights recorded, I figured it was about time to get after it.
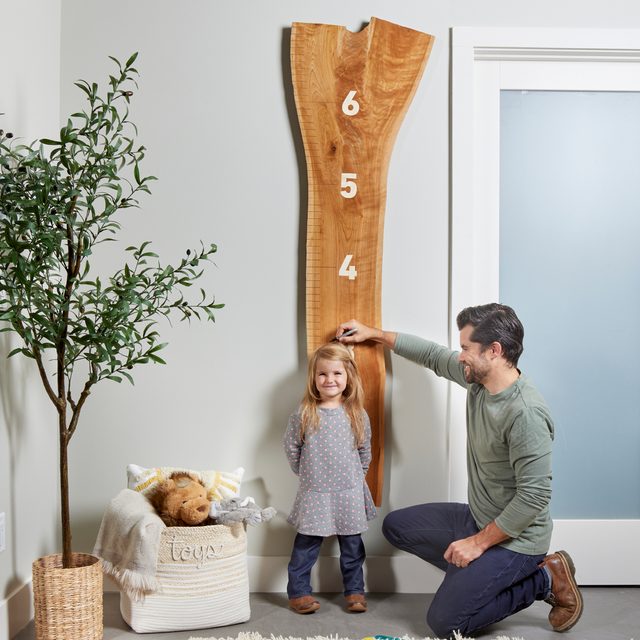
I wanted something unique, so I designed this chart to fit a live edge slab of cherry wood and added custom maple inlays to mark each foot measurement. You can apply this custom inlay technique to make inlays of any shape for various personalized projects.
Tools Required
- 1/8-in. downward spiral bit
- Basic hand tools
- Chisel set
- Clamps
- Compact router
- Drill/driver
- Marking knife (optional)
- straight edge
Materials Required
- ¼-in x 6” x 4’ maple board
- Cherry wood slab
Project step-by-step (17)
Step 1
Clamp a Straight Edge Down the Center
Establish a line near the center of the slab from the bottom to the top and clamp a straight edge along it. This will be a straight line and a plumb reference to hang the chart on the wall, allowing you to make perpendicular hash lines to identify inches and feet.

Step 2
Scribe Along the Edge
I set the combination square ruler at 2-in. and used it as a guide to scribe down the edge of the slab. This line will give you a stopping point from the edge of the slab for all the hash marks you’ll be making. You can also do this with a compass or tape measure.

Step 3
Mark the Inches
Hook your tape measure on the bottom of the slab and make a mark near the straight edge at each inch on the tape. These marks are a reference to keep the hash marks perfectly spaced. They don’t indicate where the hash marks will be, but will give you something to line up your speed square in the next step.

Step 4
Cut the Hash Marks
I used a 60-degree V-Grove bit in a compact router to make 1/8-in deep cuts for the inch-and-foot hash marks. I did this by aligning a speed square against the straight edge at each inch mark.
For every inch hash mark, stop the bit at the scribed line. For each foot hash mark, push the router to the straight edge.

Step 5
Secure the Pattern
For this project, I used 1/4-in. maple to make the inlays. After figuring out the sizing of the number inlays, I printed them, cut them out, and used spray adhesive to adhere the pattern to the board. This gives me a perfect pattern to follow as I cut out the inlays.
